As the seasons have changed in the last few weeks, I wanted a bow tie for him that was a little less summer-y. I found a cute black and red plaid collar, but couldn't find a bow tie to match. So, I decided to make one. It's so simple and easy to do and I actually bothered to document it so I could blog this incredibly simple DIY to share on the blog today. Go me!
I started with some leftover red fabric from an old project and cut four rectangles about 2 inches by 3 inches (I didn't measure- that's just a guess) each:
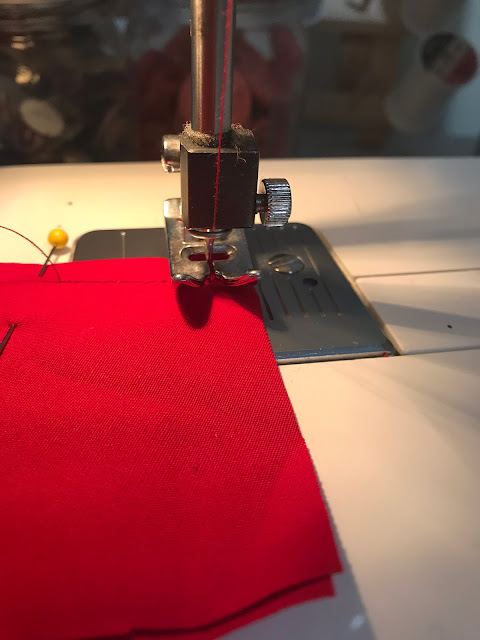
Next, I stitched around the edges, being careful to leave an opening on one side (between the pins):
Here's a sewing tip: When it's time to turn the corner, make sure the needle is down through the fabric. Then lift the presser foot up and rotate the fabric. Put the foot back down and continue along the next edge.
Pro tip #2: Trim your corners before flipping the fabric around.
Make sure to push the fabric into the corners to make them nice and crisp. Pro tip #3- use the end of a pencil or a chop stick or something:
Iron your two finished rectangles, then stitch up the opening. You can hand-stitch or machine stitch, but since the stitches aren't likely to be seen, I just machined them.
Next step- lay one piece on top of the other and fold in the middle, accordion style:
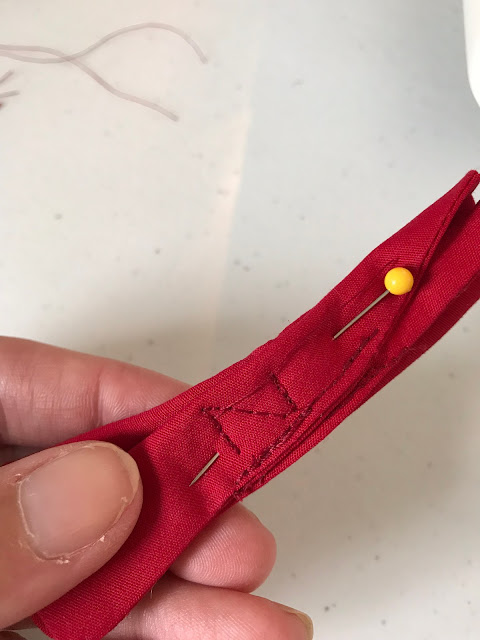
Next, stitch the folds in place. Again, you could do this by hand, or by machine. The only trick with using a machine is that at this point, the fabric layers will be very thick, so go slowly or you'll risk breaking the needle.
You can see I stitched a "Z" pattern, using the same technique with the needle/presser foot as the corners in the beginning.
Now that you're at this point, the next step is to make the band that wraps around the middle of the bow tie. Start by cutting two strips of fabric, about an inch and a half wide and about 3 inches long.
Stitch along the long sides ONLY.
Next, you need to flip this right-side out. To do this can be a little tricky but fortunately I have this AMAZING tool that is made for exactly this purpose. Seriously, one of the best sewing-related purchased I've ever made. I believe it's called a "loop turner" or something like that. It only costs a couple dollars at the fabric store and it is worth every penny.
The tool has a little hook on one end. You just have to thread through the two layers of fabric, catch the end with the hook and then pull the end through to the other end, flipping the fabric right-side out. Piece of cake.
When you're done, press the edges. Next, sew a small bit of elastic to one end. It's easier to do this step now, but if you forget you can always hand-stitch it on after the fact. But try not to forget, because like I said, it's easier at this point in the process.
Now that you have the elastic stitched, sew one end of the small band to the other, creating a circle. You'll have to do this part by hand.
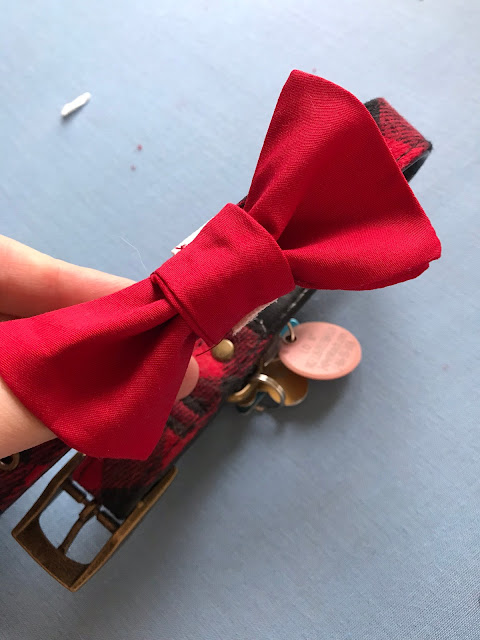
Once that's all stitched, it's time to slip the bow through the circle you've created:
You can see I still haven't cut the thread from hand stitching the band into a circle just yet. That's because I used it to also stitch the circle to the bow to make sure it won't ever slip out. This step isn't 100% necessary, but it definitely makes it more secure for something that will be getting daily use.
Once you've sewn the two pieces together, just trim all your threads and slid the bow tie onto the collar! Done! It's such a quick and easy project you could easily crank out half a dozen in an hour or so. Which I might just do with some other fabric I have in the bins:
My model was less than cooperative, but you get the idea:
I mean, it's pretty freaking cute, right? And the nice thing about this project is that if you don't have a sewing machine, it will still be a pretty quick and easy project with just a needle and thread. Let me know what you think!


No comments:
Post a Comment