Last time I wrote about the big project of reupholstering a set of four Parsons dining chairs. What I didn't tell you was the beginning of the story and the dining table idea that necessitated a new set of dining chairs to begin with! You see, when Sam and I upgraded from our little 2-bedroom apartment to a new ranch style single-family home, we ended up with an actual formal dining room. In our old kitchen, I had a cute pedestal table with simple wooden chairs, and that would have worked fine for the new space, but on a random trip to the Canal Street Antiques Market, I found a piece that would start the ball rolling on creating an entirely new dining set:

P.S. If you've never been to the Canal Street Antiques Market, it's basically a mini-Brimfield.
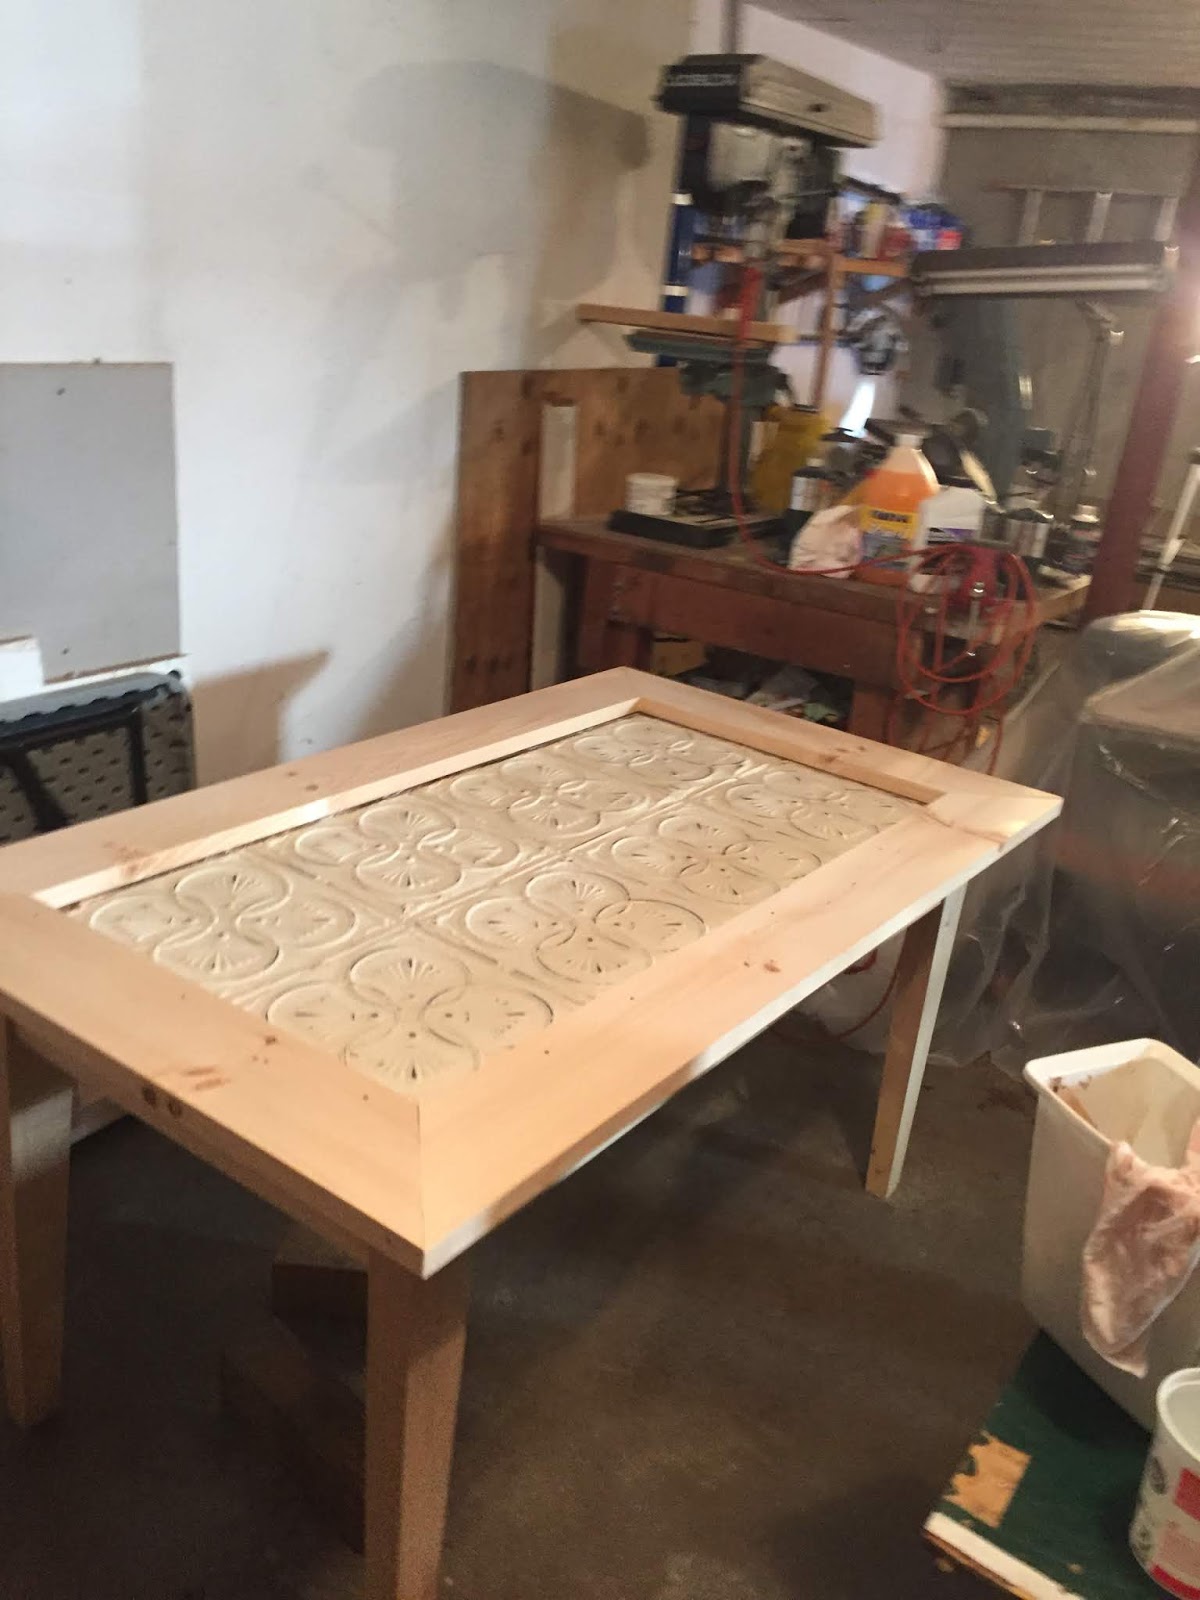
The minute I saw this decorative wall hanging made with vintage tin ceiling tiles, I knew exactly what I would do with it. I brought it right to my parents house and asked my oh-so-talented stepfather Mike if he could build a table with it. He's great at woodworking and was kind enough to take my vague description of what I wanted and build an incredibly beautiful table for me.
I had pictured the table with a glass top and the tin ceiling tiles set into a frame. I wanted to paint the frame in a pale, buttery yellow with a slightly darker yellow color for the ceiling tiles. The inspiration for the color scheme was actually an enormous hutch that my mom painted for her own dining room:


When I first messaged the seller, she told me that she had an interested buyer already. Bummer, right? Well, fortunately I didn't take "no" for an answer and got creative with my offer. I basically said to her, "Well, if you'd like to double your money, I'd be interested in purchasing the glass top on its own. If your other buyer is ok with purchasing the set minus the glass top, I'll happily pay what you're asking but for just the glass." I could hardly believe it when she agreed! And she even offered to deliver it to my parents house the next day! Amazing!
Now that all the pieces were in place, I just had to wait for Mike to work his woodworking magic. After just a couple of weeks, I was astonished at how beautiful a table he'd made:
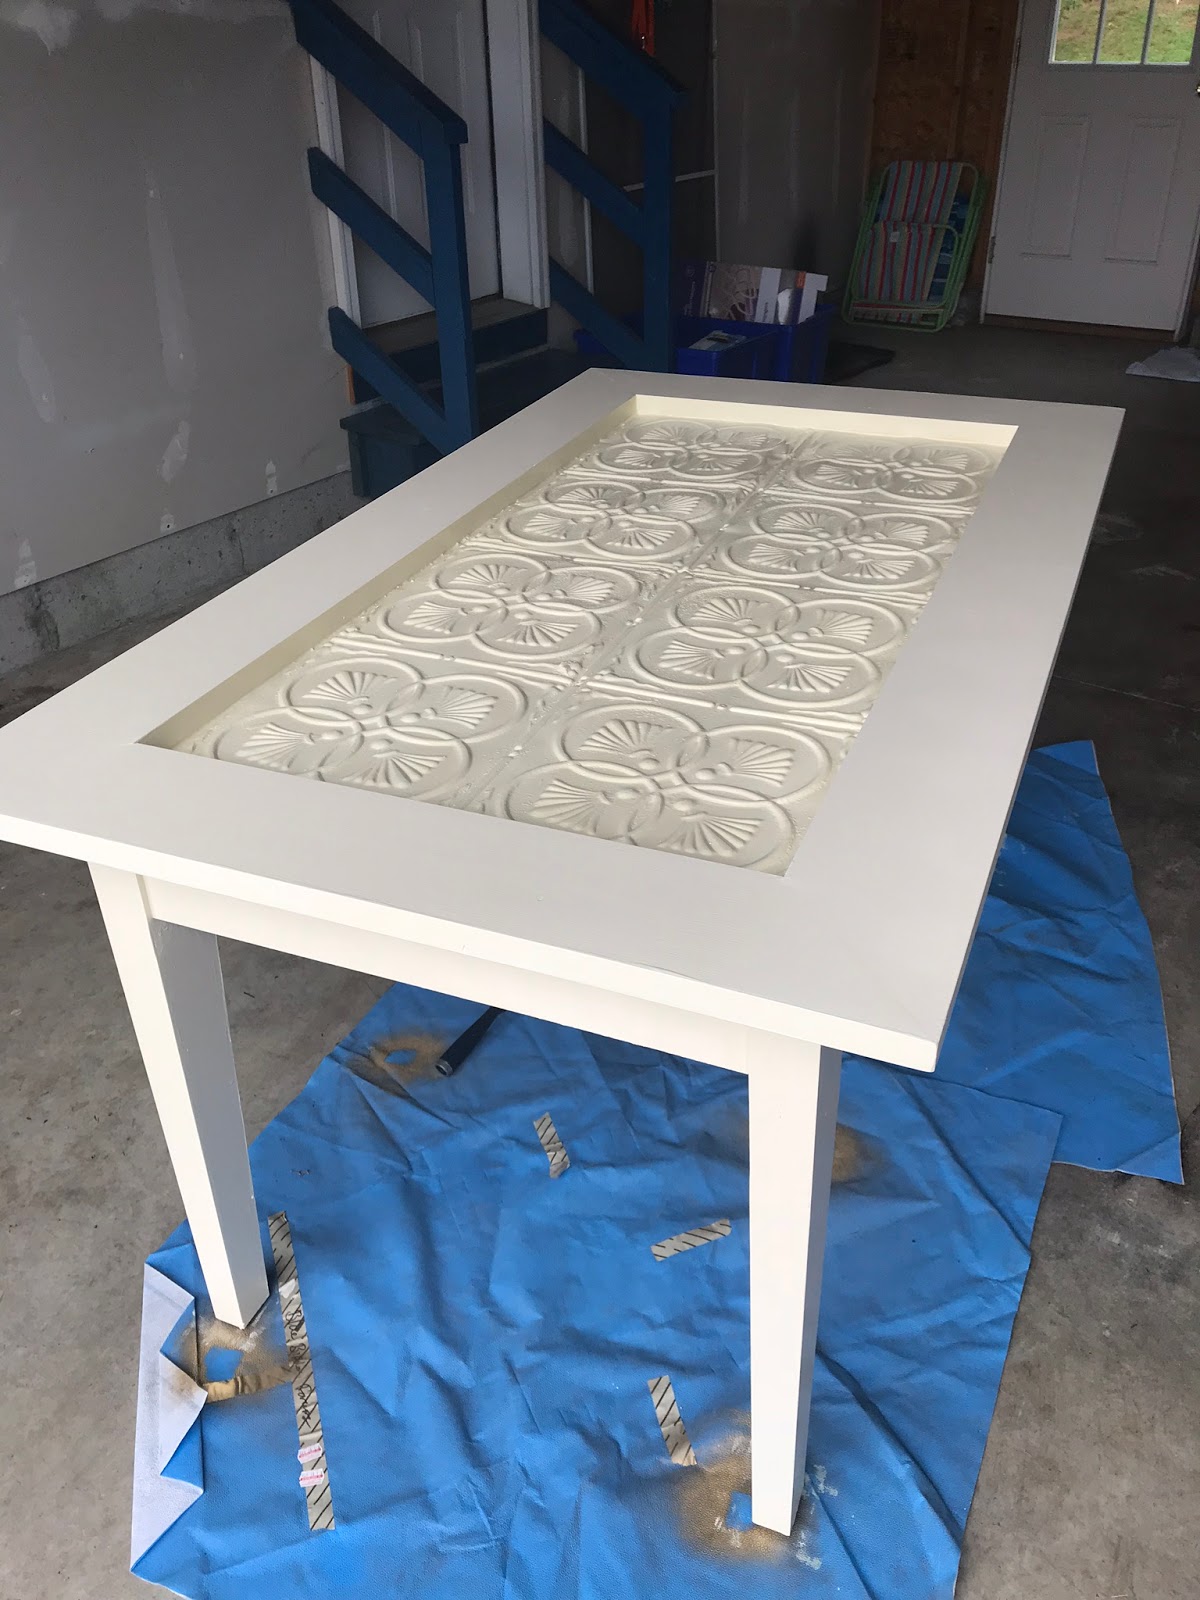
My mom offered to prime it before they dropped it off:

Once it was delivered, it only took two coats to be completely finished!
It was SO HARD for me to wait for the paint to dry before moving it into the dining room. I hate waiting. I'm just not the most patient person. Sam and I went apple picking while we waited for the paint to dry and later that day were able to bring it in from the garage. The glass top fit perfectly on top and finally after nearly 2 months from when I had the original idea, my dining room came together:

I think the key with some DIY projects is knowing your limits. Before buying the tin ceiling tiles, I texted a picture to my parents and asked if they thought my idea was feasible, and more specifically if Mike had the time and was willing to help me with it. I knew my vision was not only out of the realm of my skillset, but I also don't own the tools necessary to do it right.
So, to break down the price of the table on my end (my stepfather gifted me the labor and the wood): The decorative tin ceiling piece was $75, the two containers of paint and a couple of painting supplies came to $25 and the glass was $80- I paid the seller an additional $20 for delivery. Add in the cost of the chairs- around $30- and I'm all-in on the dining set for about $200! Now maybe $200 sounds like a lot for a DIY project, but when you consider the end result and how incredibly unique it is, it's a true bargain. I love that my table is truly one-of-a-kind and I love even more that the whole look was a collaboration with my stepfather. He is incredible with this kind of project and I'm so fortunate that he was willing and able to help me.
So let me know what you think! I'm pretty psyched (obvi) but it's always nice to hear what other people think!


3 comments:
I love it. Beautiful! Creative, classy, one-of-a- kind! Crisp and brand new looking. It's so awesome to have a project turn out perfect and to look so good in the room you planned it for. This doesn't always happen when you buy something that's "almost right" from a store, this is so much better. ->Susan
Thanks so much Susan! I'm very pleased with how it turned out and I absolutely LOVE that it's one-of-a-kind! :)
I am in love with that buttery yellow color scheme. We have that color in a couple of rooms., and I love it. Mostly because it does, indeed, remind me of buttercream frosting. :)
Your table is gorgeous! What a wonderful cooperative project! You can see the love in then end result.
Post a Comment